Follow these setup steps if you are running ClientBase in a Citrix, Terminal Services, or other thin client environment
Prerequisite
For every agent using nSRW, create an individual user folder with the path C:\Users\username\My Documents\Trams\ClientBase. This is where the PNR merge and import log files will be located.
Step 1
Please review system requirements for both nSRW and ClientBase Windows
nSRW System Requirements (scroll to middle of page, click on Support tab and then click on Technical Requirements)
ClientBase Windows System Requirements
Step 2
Install Native API Standalone Broker for Citrix/Terminal Server on each server
Java 8 is required. If you have an earlier version of Java, you can download the installation for Java 8 or higher here.
The Native API Standalone broker is simply an open source product: ActiveMQ is 5.14.1 or higher available at http://activemq.apache.org. The Native API Standalone Broker can be ran as an external process or as a windows service.
- Download the latest ActiveMQ Windows version here.
- Download the activemq.xml here. Unzip the file and save the XML under apache-activemq-5.1x.x/conf/ replacing the one that is there.
- Go to ACTIVEMQ_HOME/bin/win32
- Run InstallService.bat
- After running InstallService.bat, the ActiveMQ service should be added to the list of services in Task Manager. It may not be started by default.
- Reboot the server to start ActiveMQ service.
Step 3
Verify you have the latest version of ClientBase Windows installed on each server. To download the latest update, open ClientBase Windows on your server, go to Help > Check for Updates, and verify that you are on version 4.06.00 build 26. Alternatively, visit the Trams Support page to download the latest update.
Step 4
Follow these directions if installing or updating ClientBase Windows on a Terminal Server
Installing/Updating on Windows 2008/2012 Terminal Servers
It is important for agencies running a Terminal Server to install our software and any updates to our software correctly. If they do not, they will not be able to run the software properly. ClientBase will throw an “Unable to load midas.dll” error to the remote desktop users when trying to open profiles.
With previous versions of Windows Server edition operating systems, the procedure was to go to the Control Panel, Add/Remove Programs, and then Add a New Program. This has changed as of Windows Server 2008. Please see the steps and screenshots below to help you with this process.
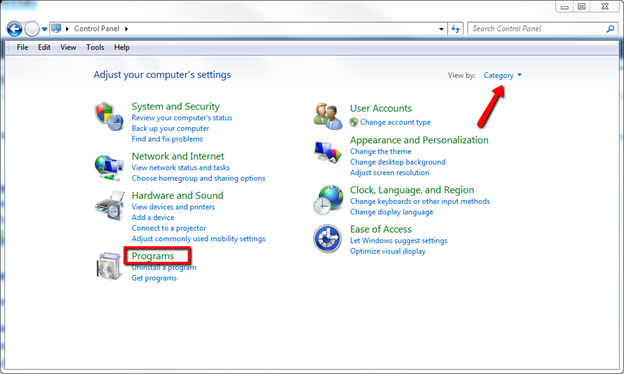
- Open the Control Panel
- In the upper right, set it to View by Category.
- Click on Programs.
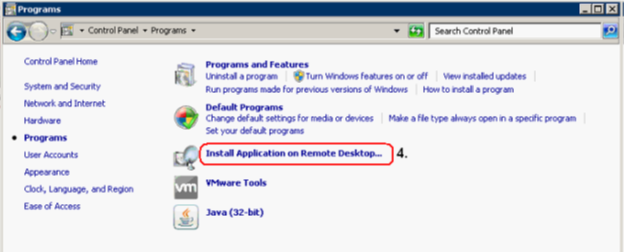
- Click on Install Application on Remote Desktop.
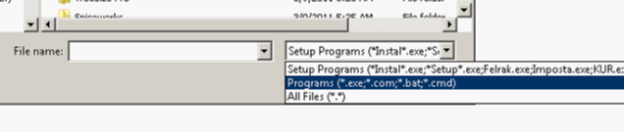
- When wizard starts, click Next. It will first try to install from Disk or CD, but will then allow you to browse. When you browse to find the setup file or update, you may have to click the drop down in the corner and switch to Programs, and not just Setup files:
- Select the setup or update to run, click Next, and then run through the install wizard as usual. When done, click Finish to leave install mode.
Another Option:
If unable to follow the directions above, this method will also work:
- Open a command prompt.
- Type “change user /install” and hit enter.
- Run the installation/update program.
- When done, go back to the command prompt and type “change user /execute”
Step 5
The new Sabre Red App CBW PNR Integration will need to be assigned to each agent’s Sabre EPR. Order and Download the CBW PNR Integration App from the Sabre Red App Centre. Agency Administrators can provision this Red App to all agents (by PCC) that will be using these features in ClientBase with the Agency Administrator Tool.
PLEASE NOTE: The CBW PNR Red App should only be ordered after an agent has already been migrated to the nSRW version.
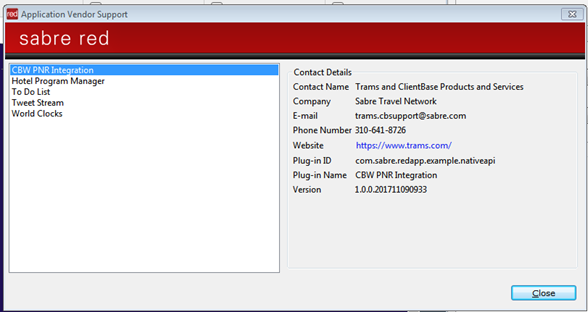
Once the Red App is installed, it will automatically run upon launching Sabre Red Workspace each day. It will not be visible from the Helper App menu but can be viewed under Contact Us > Application Vendor Support.
Step 6
Update API settings in ClientBase Windows using system administrator credentials
Option A – Use if entire agency has migrated to nSRW
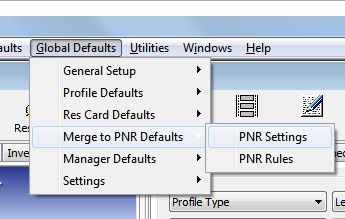
If everyone in your agency is moving to nSRW at the same time, go to Global Defaults > Merge to PNR Defaults > PNR Settings
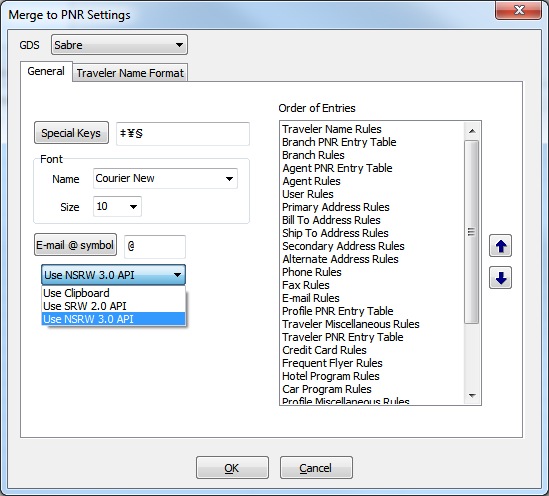
Make sure your GDS selection displays Sabre
Change to “Use NSRW 3.0 API” from drop down selection
Option B – Use if only select agents are migrating to nSRW
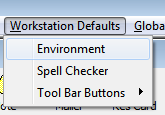
If a limited number of agents are migrating to nSRW, then the API settings will need to be updated under Workstation Defaults > Environment on each agent’s desktop that is making the move.
Under Merge to PNR Settings tab, change the for Sabre drop down selection from Global Setting to “Use NSRW 3.0 API”
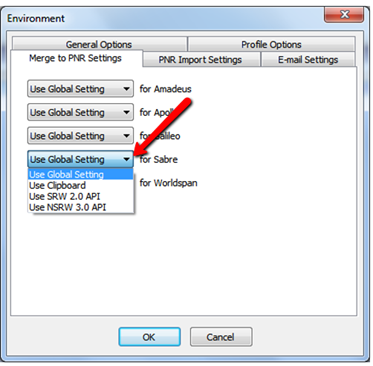
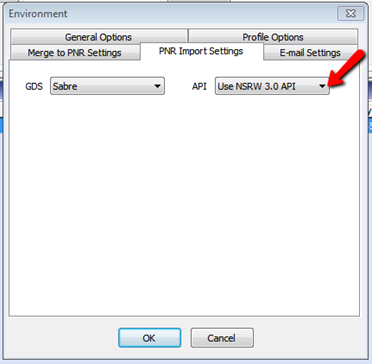
Under PNR Import Settings, change API drop down selection to “Use NSRW 3.0 API”
Step 7
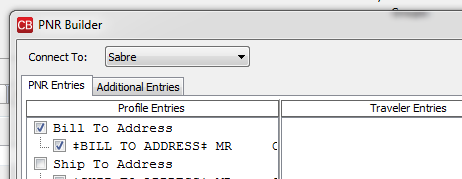
Follow the usual steps in ClientBase for Merge to PNR and PNR Import.
For additional assistance
If you need additional support assistance with installing ClientBase Windows, please contact our Trams Tech Desk at Trams.TechDesk@sabre.com.
If you need additional support with installing the New Sabre Red Workspace, please contact the Sabre Help Desk.