- Using MyCCT reports create and display the report required in the work area.
- Click on the Save As button on the MyCCT toolbar.
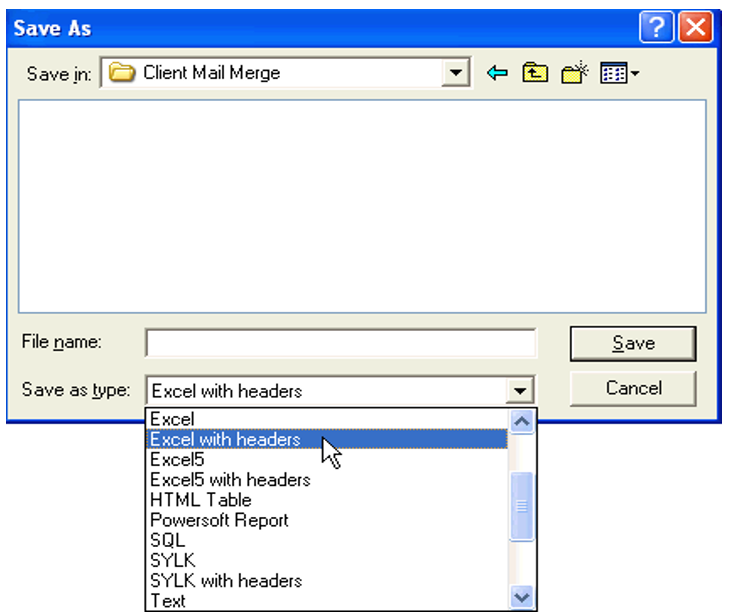
- Locate the folder required, and enter a file name and click on the Save as Type drop down arrow and select the application required (normally - Excel, Excel with Headers, or Excel 5 with headers).
- Now the file is stored ready to merge.
Adding a Header
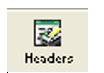
If a Header is required it can be added before the file is saved by clicking the Headers button on the MyCCT toolbar. This opens a dialogue window allowing for the specification of Report titles and the selection of printer settings.
The Header can be tailored by selecting:
- The style of the title using the Bold, Italic or Underline buttons.
- Select the report layout - Portrait or Landscape.
- The Zoom setting can be used to reduce the size of the printed report.
- The required printer can be selected and configured using the Print to list and Setup button.
- Options for the top right hand corner of the report and can be selected from the scroll indication. The choices are Todays Date. Page 1 of n; Printed <date><time>.
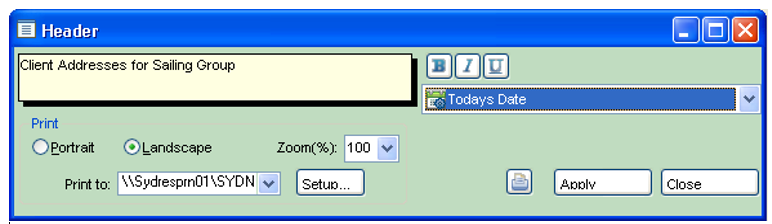
- Click on Apply to save the setting changes to the report.
- Click on the Close button or click on the Print icon to send the report to the printer.
- The Print Preview button displays the proposed printout on screen, allowing for last minute checks prior to generating the final hard copy. Use the mouse to adjust the margins by dragging the Arrow icons located within the displayed rulers (in line with the blue marker lines).
- Using the reports from the menu bar, create the report required.

- Click on the Save As button on the bottom of the report window to retrieve the Save As window.
- Locate the folder required, and enter a file name and click on the Save as Type drop down arrow and select the application required (normally - Excel, Excel with Headers, Excel5 with Headers) as previously described.
- The user does not have the option to add a Header from within CCTE with reports generated from the menu bar.
- Once the Microsoft Excel spreadsheet has been created and saved, generate mailing labels as per the version of Microsoft Word on your system, instructions can be found through the Microsoft Help function.
Client Category
Some agencies use categories to manage their client groups. The categories must be created in the Tables for selection in this screen.
To create these entries in Tables:
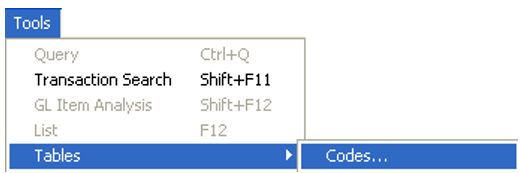
- From the menu bar, select Options and then Tables. Select the Codes table from the sub menu.
- Select Client Category from the scroll attached to the Lookup Code field. Any existing entries will then be displayed in the adjacent area.
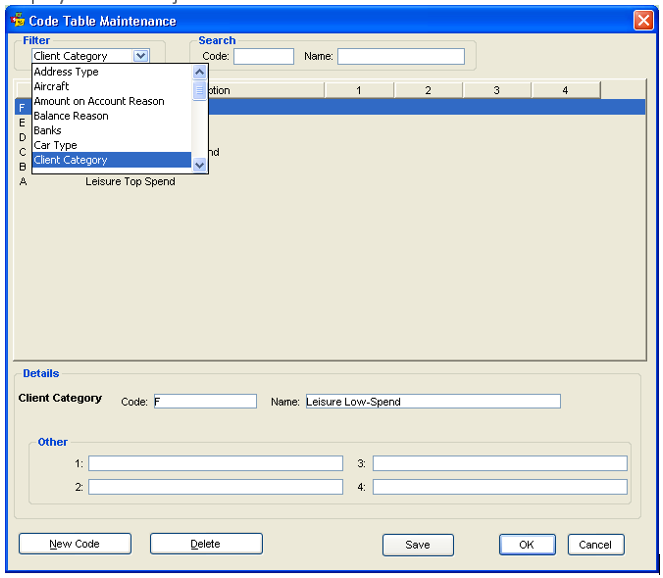
- Click on the New button to make a new entry. Some agencies use alpha or numeric codes for their client groups; whereas others use short descriptions.
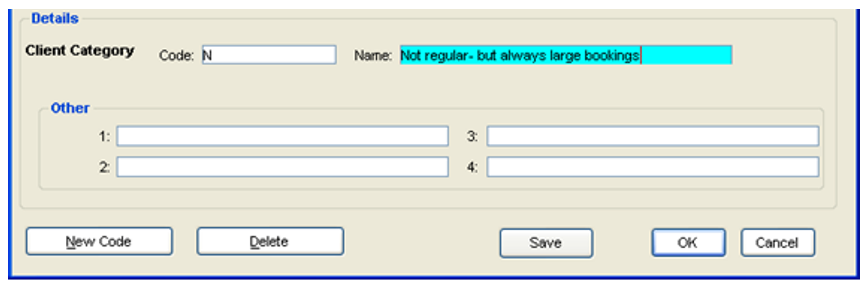
- Click Save, and then the New button again if the user wishes to create another entry, or Exit to save the entry and exit the screen.
Using Information from Main Tab
The information entered under the Main tab can accessed from any of the MyCCT Client reports by selecting the Category, Salutation and Mailout Allowed and then tailoring your entry using the Where column.
The principals demonstrated below apply to the pre-set Sales filter folders as well as to the Design your own Report folder.
Click on the Design Client Report folder, and proceed as previously demonstrated.
