Skip To:
The Associated Client function allows for the linking of Client files for the purpose of identifying family groups or business associations. This functionality is particularly useful so that if the association is for family groups the name fields upload as required by the airlines, e.g. 3SMITH/JOHNMR/JULIEMRS/KARENMISS.
A client may only belong to one Client Grouping at a time. Associated Client files automatically upload together.
Note: It is also possible to Upload individual Client files so that the upload into the same booking by using ADD CLIENT feature, see Associated Client File Upload and Upload Multiple Passengers.
Creating an Association
Open one of the Client files to be associated then open Tools on the main menu bar and select Associated Client to display the input window. Alternatively, right click the mouse anywhere on the Client tab and select Associated Client from the menu.
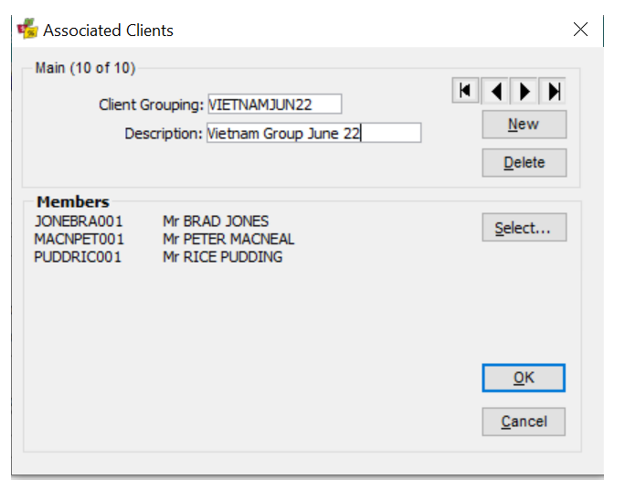
- Click on the New button to start a new Client Grouping
- Enter the Client Grouping nme. i.e. family surname, Netball team, Gourmet travellers
- Enter a Description for the client grouping. e.g. Family, Perth Competition, Worktrip 2008
- Click on the Select button, on the right hand side of thescreen, to display a list of Client files
- Use the mouse and scroll bar to find and highlight the passengers to be associated together. It is important to also select the currently open client in this process
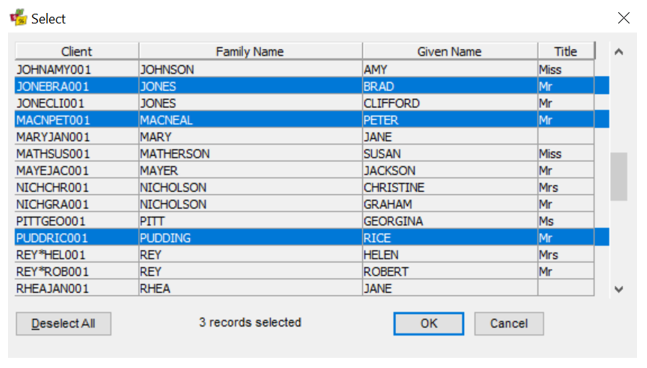
- Click on OK. The Associated Clients screen will be redisplayed, with the grouped Client files listed in the Members area. Click OK to Save and close the input screen and return the Client file
The file codes for the associated client files will be displayed in the drop down selection scroll as shown below.
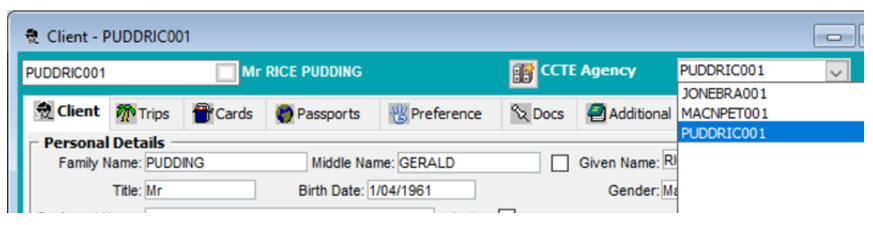
You can open any other file in the associated group by clicking the file code in this box.
An associated grouping can contain any number of client files; however each client file can only belong to one associated group at any one time.
Removing a Client File from an Association
Open any Client file that is a part of the associated group, then open Tools on the main menu bar and select Associated Client, or right-click anywhere on the client file to display the input window.
The arrow buttons can also be used to scroll through the client groupings to ensure the correct one is selected.
Click the Delete button to delete the entire Association.
To remove individual client files, click the Select button to display the list of client files to remove individual clients from the association. Client files that are members of the group are highlighted.

There are two methods for removing a client file:
- Click on the Deselect All button to remove all members from the group. This action displays a dialogue box asking for confirmation to delete the grouping. Click Yes or No depending on requirements. Finally, click OK to be returned to the Client File.
- Click on the individual client file to be removed from the group. This removes the highlight on the file, indicating it is no longer to be included in the association. Click on OK to confirm the change. This method means that all other selected members stay in the associated group.